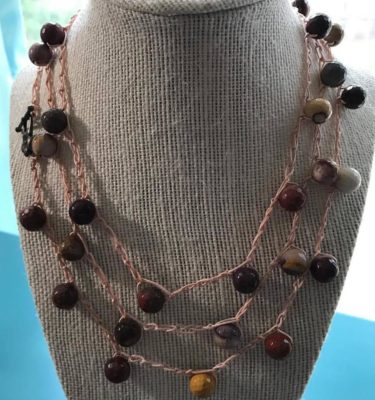
While this is not my first time ever making crochet jewelry, this Mookaite Stone Crochet Bead Necklace (56 inches long) is the first time I’ve ever used Chinese knotting cord to crochet with. I have been wanting to experiment with different types of string and cord, and this is one experiment that turned out great. I am a big fan of Chinese knotting cord now. The beads are from a strand of mookaite 10mm faceted beads I purchased while briefly visiting San Juan, Puerto Rico. (You can find out more about my bead hunting trip to San Juan in a video I posted on my YouTube channel).
I used the following supplies and materials:
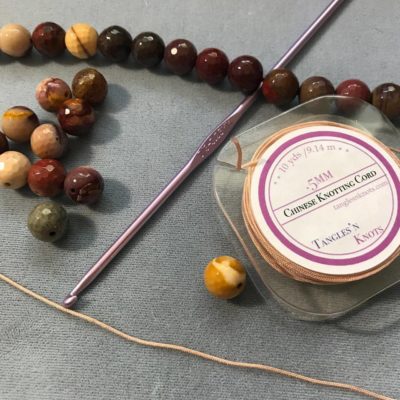
.5mm Chinese Knotting Cord, Ginger (color)
1 – 16″ Strand of 10mm Faceted Mookaite Beads
1 D-size Crochet Hook
1 Brass Toggle Clasp
Clear Drying Glue
Corsage Pin
Scissors
Ruler
Below are a few photos I took while I made the necklace and a general description of the process:
1. For bead crochet, you have to get the beads onto whatever thread or cord medium you plan to use before you start to crochet.I knew I wanted to use all of the beads and make the necklace super long, but I had no idea how long the cord would need to be, so I kept the cord on the spool as I worked. To help get the beads on to the cord, I attached a flexible needle to the end, and then threaded all the beads onto the cord.
2. After all the beads were strung on the cord, I measured about 8 inches from the end of the cord and made a slip knot to attach the crochet hook to the Chinese knotting cord, and I made five crochet chain stitches.
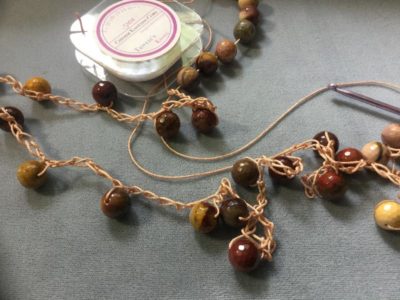
3. Then I moved a bead down and made a chain stitch right after the bead to secure the bead into the cord, and I continued to make five more crochet chain stitches.
4. I just repeated this process – move the bead down, chain one, then chain five – for all of the beads.
5. Once I had all the beads and chain stitches done, I slipped one part of a toggle clasp onto one end of the cord and tied several knots. Then I repeated this with the other part of the toggle. I used a corsage pin to help push the first knot up against the loop of the toggle clasp section.
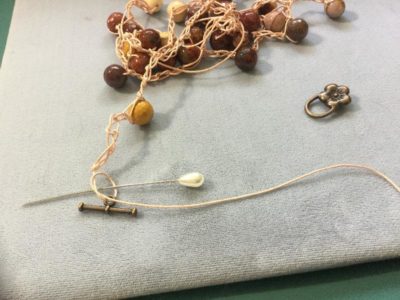
6. Once I had all the knots made, I used sharp scissors to trim off the excess cord and added a dab of clear drying glue on the knots and allowed it to dry.
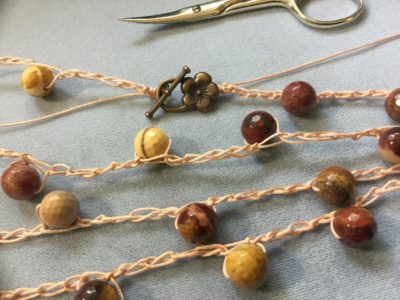
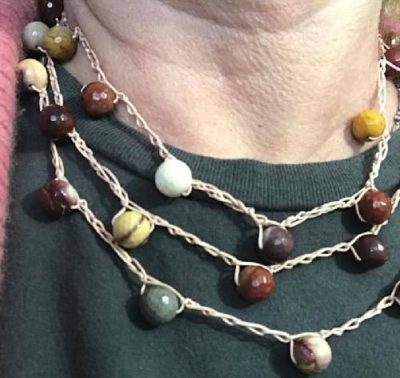
The necklace is super long (56 inches), which allows me to wear it triple wrapped with no problem. The flash on the photo below makes the cord look almost white, but it’s actually more of a very light pink, almost a flesh color.
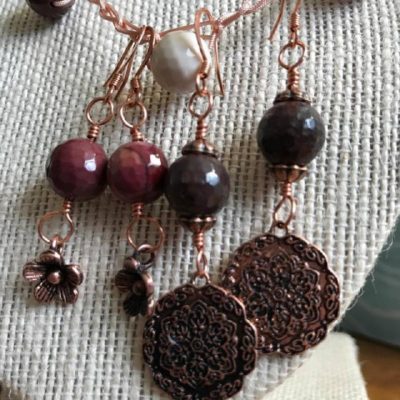
I set four beads (that matched) aside before making the necklace so that I had enough to whip up a few simple pair of earrings to go with the necklace when I finished.
