Recently, I blogged about how my craft club is making no-sew fleece blankets for a local shelter. Now I have step by step photographs for you of the process we used, and let me note that there are many ways to make these. I am in no way claiming this is the only way.
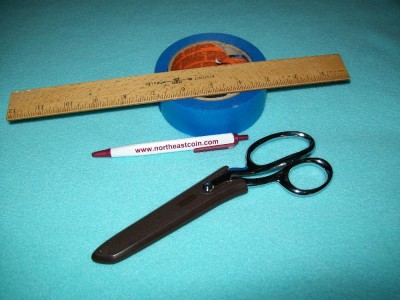
First, you will need 2 yards of fleece (which is normally about 60 inches wide), scissors, a ruler, pen, and 1 inch wide painters tape. You also need a surface to work on. I have one of those folded up cardboard things used for sewing, and the only cat and dog free zone I could find to work on was my bed room. So I put that on top of my bed. If you have a good table to work on, you don’t need the card board thing you see in the photos.
Spread the fleece on top of your cutting surface so that you have at least one edge of the fleece flat and facing you.
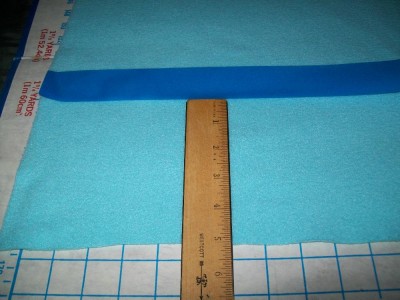
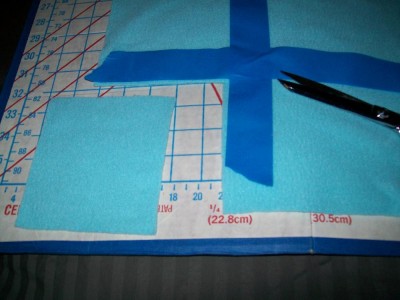
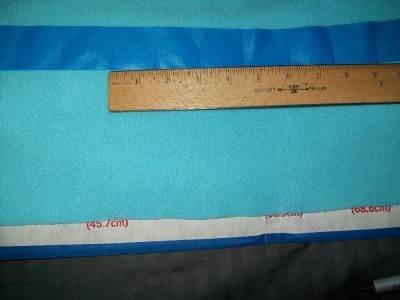
Using the ruler, measure in 5 inches, and start rolling the tape onto the fleece. (Note: Some people use masking tape, but I have found that it sticks too much to the fleece whereas the painting tape comes off really easily without damaging the fleece.)
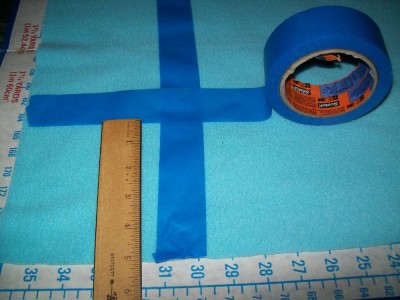
Flip the fleece so that you have another edge facing you, and repeat the previous steps, measuring and taping across. You need to do this on all four sides of the fleece, and yes, the tape will cross over each other, but you will see soon why that is a good thing.
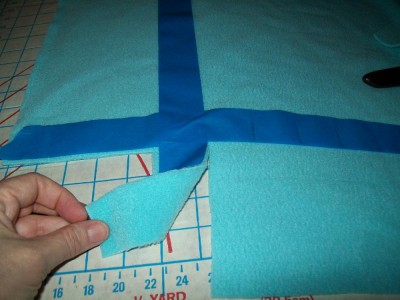
Again, making sure that you have one edge facing you, use scissors to cut the corners, which are marked off with tape and form a square.
With a ruler and pen, mark 1 inch increments down the length of the tape. (Some people can eye ball this, but I’m not great at that, so I mark.)
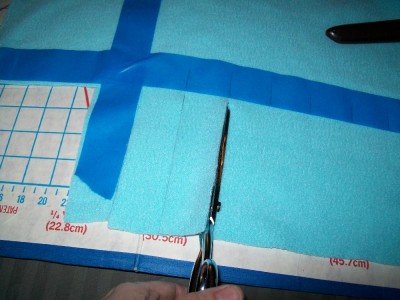
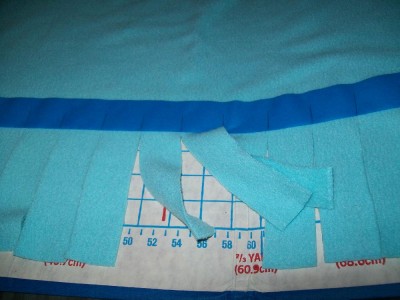
Cut on the other side of the long piece of tape to make your first piece of fringe.
Now following the marks you made on the tape, continue to cut 1 inch wide piece of fringe down the length of the fleece.
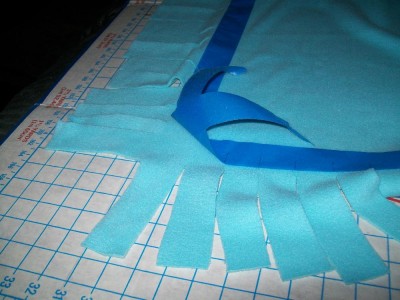
Cut the corner squares and fringe all around the four sides of the piece of fleece.
Pull off the tape. If you plan to make more blankets, you can actually reuse the tape and already have the 1 inch marks handy for you.
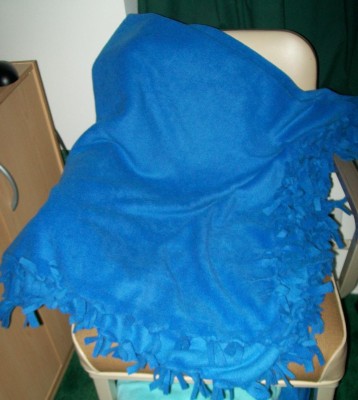
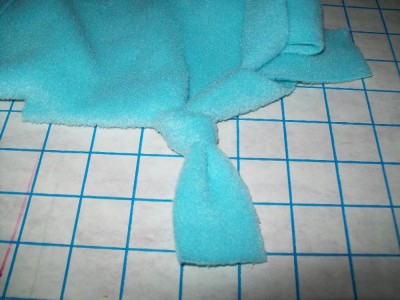
Now it is time to knot the fringe, and this is where I have seen the most variations on these types of blankets. The first one I made (pictured way up at the top) I was told to cut the fringe thinner, tie to pieces of fringe together into a square knot, and then cut each piece again down the middle. The look is okay, but it took a lot of time. For these blanket, I just made the fringe thicker (to equate to the thickness of the tape), and I made one overhand knot at the top of each fringe. It still takes time, but not nearly as much, and I am happy with the way it looks.
Once you have knotted all the fringe all around the four sides of the fleece, your blanket is finished.
These are great gifts as well as charity donations, and very often, you can find the fleece on sale (usually 50% off), but you can also use coupons from craft stores to get a percentage off of one cut of fabric. So these can be pretty economical to make if you catch a sale or have a coupon.

One Comment
Leave a reply →