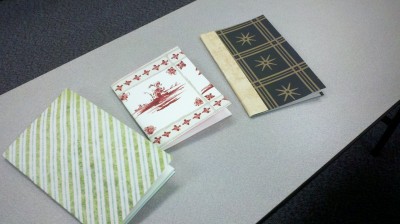
At one of our recent craft club meetings, we made small books. Member have been so busy most of this semester making stuff for charity, we thought it would be nice for them to make something for themselves for a change, and well, we have a ton of paper right now! Here’s basically how the books above were made (I so which I had taken step out photos!):
1. Take a sample piece of wallpaper and an 8×11 piece of card stock and glue the card stock to the back of the wallpaper.
2. Allow it to dry, and while it is drying, pick out 8×11 paper for the center of the book.
3. Use a bone folder to fold over each of the 8×11 papers you selected in the previous step. (The bone folder helps create a super nice crease in the center of the papers.
4. Once the glue in dry on your wallpaper section, trim off excess wallpaper so that it pretty much matches up to the size of the card stock piece glued inside.
5. Position the folded paper pieces in the center or spine of the book and use a saddle stapler to staple the pages into the spine of the book.
6. Press the book using a book press. Once it’s nice and flat (let it press for as long as you can stand it), your book is finished.


2 Comments
Leave a reply →