As I was pulling out of my driveway a few weeks ago, I got a good look at the curtains, or should I say rags that once were curtains, hanging in the front window of my office, eeek! They were so faded and just down right embarrassing! I did have plans to purchase some new curtains and had even done a little shopping but hadn’t found anything that was much better than what I had already on my windows at the time, and then time went on and I sort of spaced on the whole window thing.
I still had to measure the windows (something I needed help form my DH to do accurately) , and I needed curtain rods as well because the push rods I had been using kept fall down because of a certain little cat (Coco) who thought it was fun to stand up and pull on them!
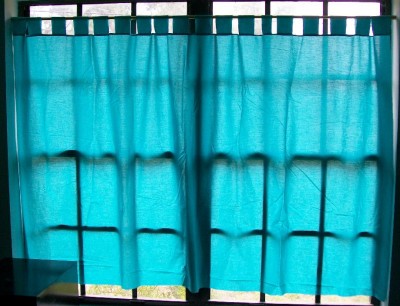
But I had to do something about these things while I waited to have all the info and time to buy new curtains and rods. Thus, I whipped up these “No Sew Curtains,” and they didn’t turn out too bad, at least a lot better looking than the rags. In fact, if this wasn’t a front window that gets tons of light, I might have kept them.
To make this, I used a flat sheet that is at least the same width as the window. I keep a few inches of my curtains from the bottom of the window because my cats love to sit and look out the window. I have a little bench under the window, so they need a few inches of “viewing space.” I used a queen size sheet, so I ended up cutting off a good amount from the bottom once I got the top finished.
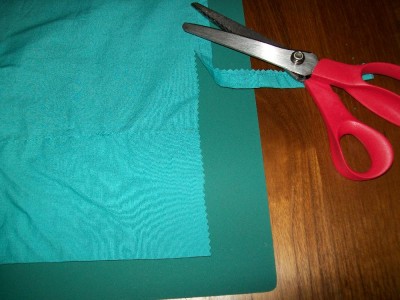
To make this “no sew,” I used pinking shears. I also used a cutting sheet like quilters use, but a ruler would have been okay as well. Below are photos of the basic process.
I trimmed off each side of the sheet so that the top part turned into a casing.
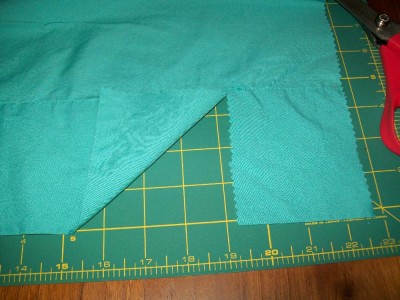
Then I measured over 3 inches and cut up to the casing seam.
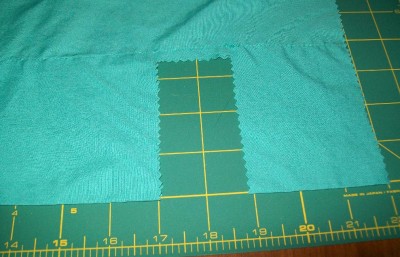
Then I measured two inches more, cut another line up to the seam, and then cut off this piece so that there was a two inch space between the first section cut and the next section. I kept doing this all the way down until the end of the casing.
Then, as I said before, I cut across the bottom until I had the desired length of curtain. Finally, I just slipped these on a push rod, and voila, curtains!
My husband totally hated these, but they looked way better than the horrible things up there before, and this urged him a little to finally help me measure the window! In a pinch, these did what I needed them to do;


