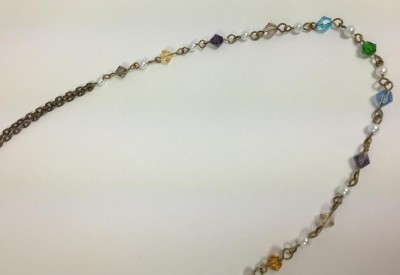
The folks at Pandahall sent me a little bag of jewelry supply goodies and asked that I whip up a project or two. I was immediately attracted to the rainbow of crystals in the package, and of course, most of my jewelry making friends know I love pearls, so why not combine them? For a larger look at the finished necklace, just click on the image below.
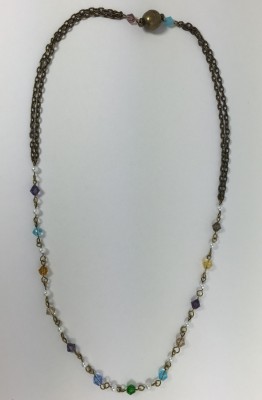
Here are the supplies I used to construct the necklace above:
Nickel Free Antique Bronze Iron Eyepins, Size: about 5.0cm long
Brass Magnetic Clasp, Nickel Free, Round, Antique Bronze, 19x12mm
Iron Cross Chains, Nickel Free, Oval, Antique Bronze, 4.7×3.3x1mm
Mixed Glass Bicone Beads Strands, Faceted, 6mm
Glass Pearl Beads Strands, Pearlized, Round, White, Size: about 4mm in diameter
The tools used were a pair of chain-nosed pliers, wire cutters, and round-nosed pliers.
1) I began by constructing a chain of alternating pearls and crystals using the eye pins. This included 12 crystal beads and 13 pearl beads.
2) Once I had that part of the necklace assembled, I used wire cutter to cut 83 links of the chain.
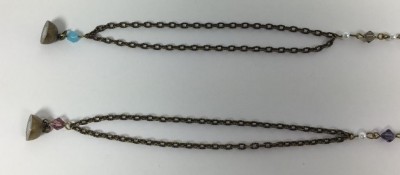
3) On one of the ends of the beaded chain section I made, I opened up the loop at the end and slipped on two links from either end of the chain section, thus doubling the chain.
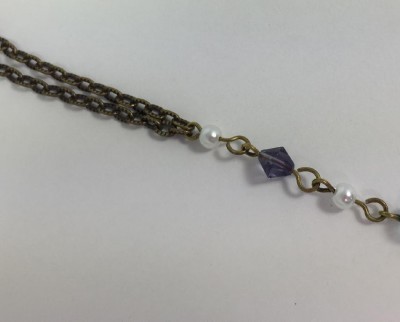
4) Using another eye pin, I slipped a crystal bead onto it and made a loop on the end.
5) On one end of the eye pin, I attached the magnetic clasp (which comes with attached jump rings), and on the other loop of the eye pin, I slipped the center link of the chain section onto it.
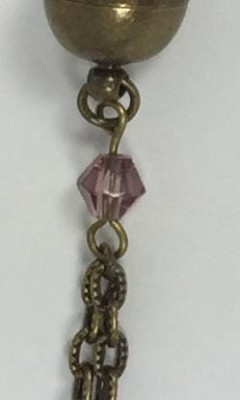
6) I repeated steps 2 through 5 to put together the other side of the necklace.
Here are a few tips for success when putting together this necklace:
- Use the narrower end of the round-nosed pliers to make the loops so that they are about the same size as the loops that are already on the eye pins.
- After connecting all of the sections, make sure to check all of the connections to make sure they are secure. You may need to use chain-nose pliers here and there to close up loops more securely.
- Watch out for that magnetic clasp, LOL! It’s great for easily putting the necklace on and off, but while you are working with metal tools and metal findings, you may find them sticking to the clasp.

