Recently, I made a very cool necklace that includes a ceramic pendant with bunny rabbits on it. I posted the tutorial over at the About.com Jewelry Making site. For whatever reason, I did not make a matching pair of earrings at the time, and I have been wearing other earrings I already own with it. However, I felt this necklace really need a pair of earrings that more closely matched the beads I used in it.
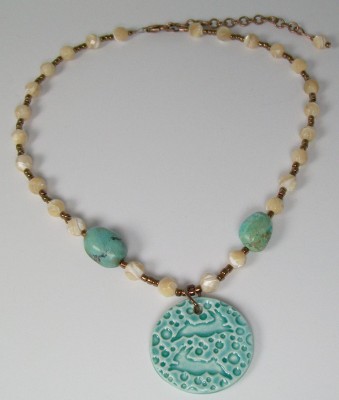
To spread a little jewelry love, here is a tutorial here on these earrings I made to go with the necklace above.
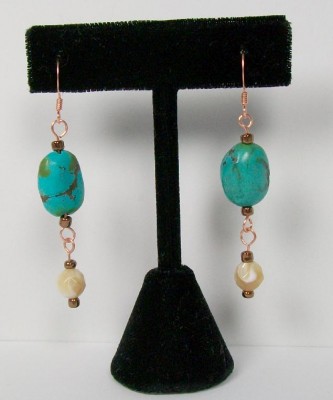
For tools, you will need round-nosed pliers, chain-nose pliers, and wire cutters. The materials I used are as follows:
2 Turquoise nugget-style beads (about 12mm size)
2 8mm Faceted mother of pearl (natural colored) beads
8 Copper colored seed beads
2 Copper head pins
2 Copper ear hooks
About 8 inches of 21-gauge copper wire
1. First, put one copper colored seed bead, a mother of pearl bead, and another copper colored seed bead on a head pin.
2. Then use chain-nose pliers to bend the head pin into a 90 degree angle, just past the beads.
3. Holding this bend part of the head pin with round-nosed pliers, use your fingers to wrap the head pin around the pliers.
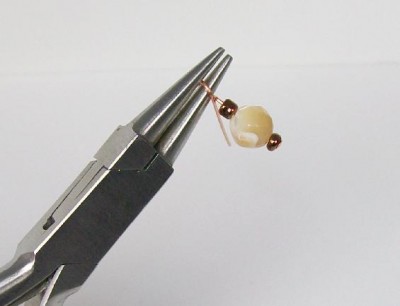
This will make a loop in your head pin that looks like this:
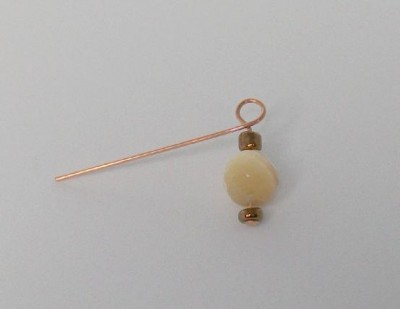
4. Use wire cutters to trim off the excess head pin.
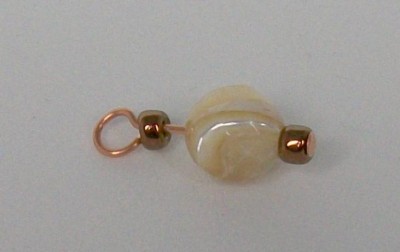
5. Take a few inches of copper wire, use chain-nose pliers to bend the end into a 90 degree angle, and then use round-nose pliers to curl the bent wire into a loop.
6. Slip on one copper colored seed bead, a turquoise bead, and another seed bead, and make another wire loop at the top, cutting off excess wire.
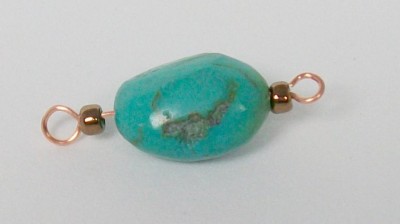
7. Connect the turquoise component you just made with the mother of pearl section you made previously.
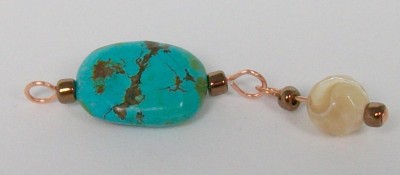
8. Attach one of the copper ear hooks to the top of the turquoise piece, and repeat all of the steps above to make a matching earring.
Now, be warned that it is really tough to find two turquoise nuggets that match perfectly. The two I found are pretty close, but one is a little thicker than the other. Still, they turned out alright and now I have a pair that better matches the necklace I made.

September 1, 2012 at 1:02 pm
Ooooo!! This would work for making super cool stitch markers for knitting and crocheting too!! Thanks for the tutorial!