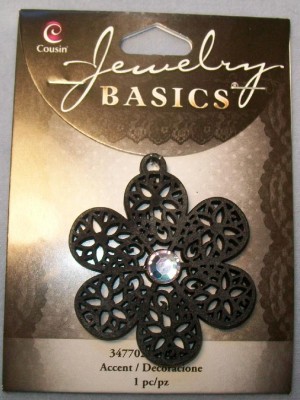
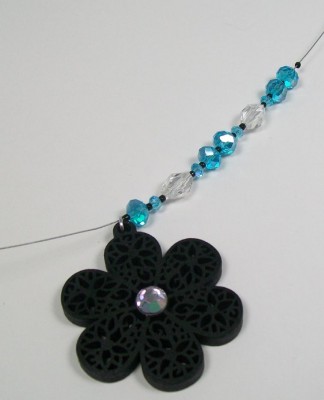
When I received this wooden flower pendant from Prima Beads, the design for this necklace and earring set popped into my head. While the pendant is fairly good sized (40mm), it is not heavy at all since it is made of wood.
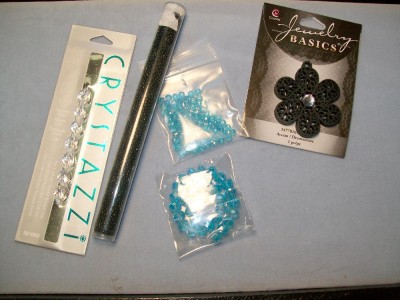
The other supplies I used were as follows:
2 – 19gauge 5/32 inch silver colored jump ring
1 – 9mm silver colored lobster claw clasp
22 inches of .015 beading wire
6 – 11 x 8mm clear twisted oval crystal beads
2 silver colored ear hooks
2 silver colored headpins
38 – 3mm aqua colored crystal beads
30 – 6mm aqua colored crystal beads
72 size 11 black seed beads
2 silver crimp beads
The tools you need are a pair of round-nose pliers, chain-nose pliers, wire cutters, and crimping pliers.
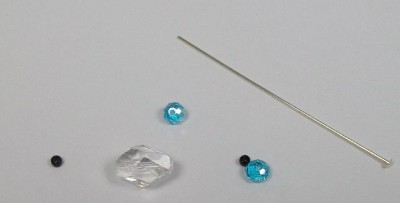
Start first by making the earrings. In fact, one little tip for totally newbie jewelry makers is to set aside a few beads before you make a necklace or bracelet so that you have enough to make matching earrings in case you want a pair later. Not everyone is into matching jewelry pieces, but if decide later and have already used up all your beads, then you may be out of luck if you change your mind later.
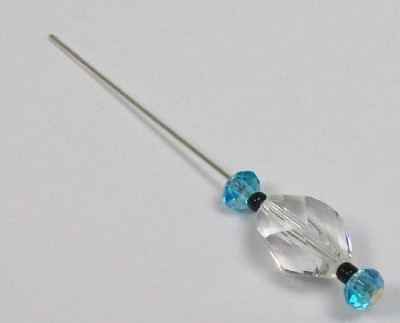
1. Slip on one 3mm aqua bead, one black seed bead, one oval bead, one black seed bead, and another 3mm aqua bead onto a headpin.
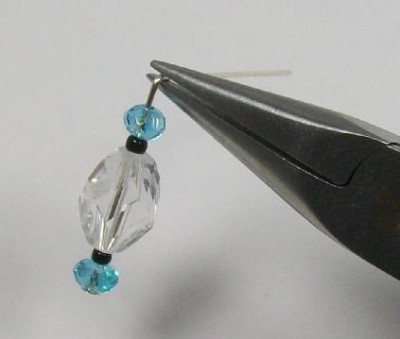
2. Using a pair of chain-nose pliers, about 1/4 inch past the last bead bend the headpin into a 90 degree angle.
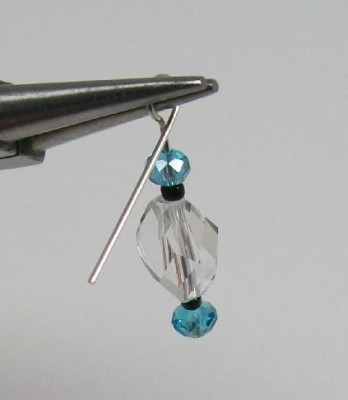
3. Grasp the bent part of the headpin with round-nose pliers, grasp the end of the bent part, and wrap it around the nose of the round-nose pliers in order to form a loop.
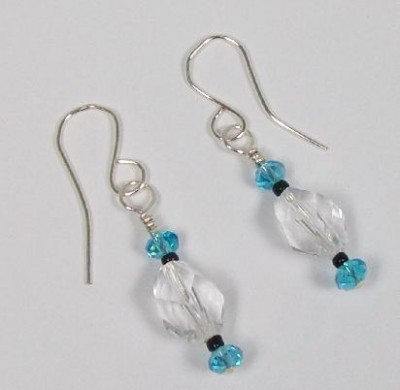
4. Stick the nose of the round-nose pliers through the loop, and grasp the headpin with the chain-nose pliers as you wrap the excess headpin around itself to wrap the loop closed.
5. Slip on ear hooks. (I made the ones shown using some wire, but you can buy prefabricated ear hooks).
Now for the necklace….
1. Attach the jump ring to the center loop at the top of the flower pendant, and use chain-nose pliers to close up the jump ring.
2. Insert the beading wire through the jump ring, and start stringing on beads onto it in this order: one black seed bead, one 6mm crystal bead, one black seed bead, one 3mm crystal bead, one black bead, one oval bead, one black bead, one 3mm crystal bead, one 6mm crystal bead, one black bead, one 6mm crystal bead, one black bead, one 3mm crystal bead, one black bead, and one oval bead.
3. Then alternate beads in this pattern 6 times: one black bead, one 3mm crystal bead, one black bead, one 6mm crystal bead, one black bead, and one 6mm crystal bead.
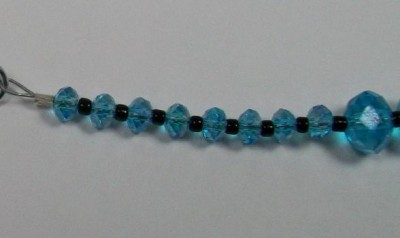
4. Finish the end of one side of the necklace strap by alternating one black bead and one 3mm crystal bead 8 times.
5. Repeat the beading pattern described in steps 2 through 4 for the other side of the necklace. (Tip: When I am stringing a necklace like this, I like to use a bead stopper on each end of my beading wire so my beads don’t fall off. )
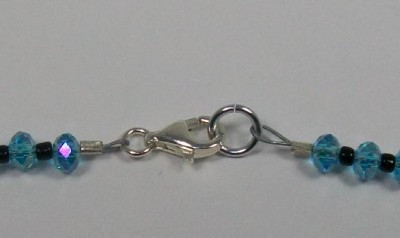
6. Finish off each end of the beading wire with crimp beads, and attach a lobster claw clasp to one end and a jump ring to the other. My clasp already had a smaller jump ring attached to it, but if yours doesn’t, you may want to add one yourself so that the clasp does not twist around a bunch.
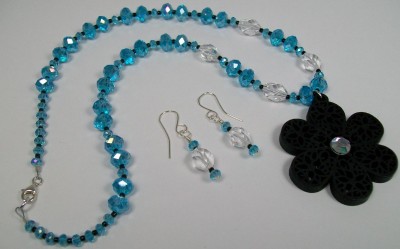
The finished strap of this necklace is about 18 inches long. Black pants tend to be part of my “teacher uniform,” so this is a great combination. I love wearing it!

March 8, 2014 at 12:41 pm
What a great little set for everyday wear, Tammy!
March 9, 2014 at 6:30 am
Lovely, Tammy, just lovely. You do beautiful jewelry design. I wear mine all the time, especially the blue Raku earrings.