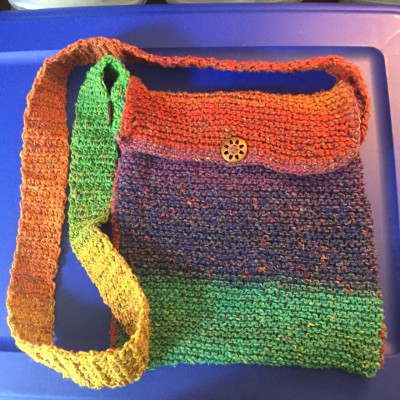
After purchasing some beautiful Cascade Souk yarn in the “Rainbow” colorway, I thought it would be fun to use it to make a small crossbody tote that I can use to carry a few small items. I’m pretty happy with how it turned out, so here is a basic tutorial that explains how I made it. I used both knitting and crochet to construct it. Gauge does not matter with this project, and it can easily be altered to make a larger or smaller bag.
You will need the following supplies:
2 skeins of Cascade Souk yarn (I had lots left over, but 1 skein was not enough to make the size bag that I wanted.)
US size 9 needles (straight or circular)
size G crochet hook
3 – 1″ buttons
darning needle
measuring tape
straight pins
1) Cast on enough stitches to make a rectangle that is 10 inches wide. I think I had about 35-40 stitches. (I spaced out and forgot the exact number because I kept changing the number until I found the width of the bag I thought would work. This can really vary, too, depending on how loose or tight a knitter you are.)
2) Using garter stitch, knit until the rectangle is about 24 inches long, and bind off.
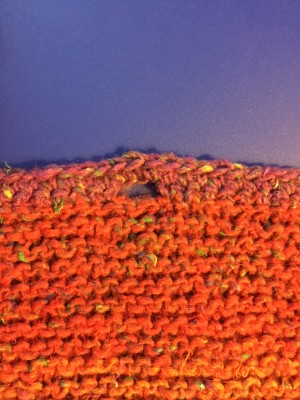
3) Using a size G hook, make a single crochet border around the entire knitted rectangle, except skip about 1/2 an inch in the center area on the end of the rectangle that will have the button hole. Instead of single crochet for this part, make 3-4 chain stitches. Use your 1” button to measure that the hole will fit the button.
4) Flip the piece around, and single crochet back down the end with the button hole so that the chains section have a single crochet border on them.
5) Fold 10 inches of the rectangle over so that there is about a 4 inch section left over, which will be the flap (it’s the area that the button hole is in), and holding wrong sides together, single crochet both sides together.
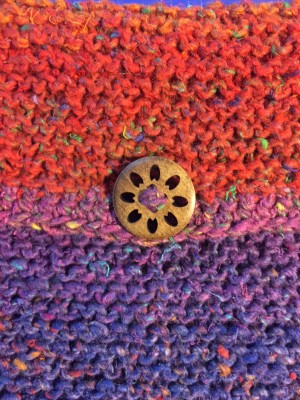
6) Turn the bag inside out so that the seems are inside of the bag, and stitch on the button in the center, making sure that it is aligned with the button hole. At this point, the bag part is finished, and you are ready to make and attach the strap.
7) With a size G hook, make 8 chain stitches, and then half double crochet back and forth until the strap is as long as you want it, keeping in mind that the strap will stretch. My strap ended up being 46 inches long and about 2 inches wide.
8 ) Use straight pins to attach two inches of the strap on the outside of the bag so that it is centered over the seam. Using yarn and a darning needle, stitch this section securely on using a simple straight stitch. Be careful not to tug on the yarn as this Souk has a tendency to break.
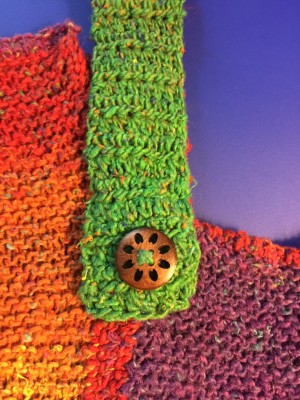
9) Attach a button to the center area of the strap you attached in the previous step.
10) Repeat steps 8 and 9 for the other side of the bag.
11) Weave in all tails, and you are done!
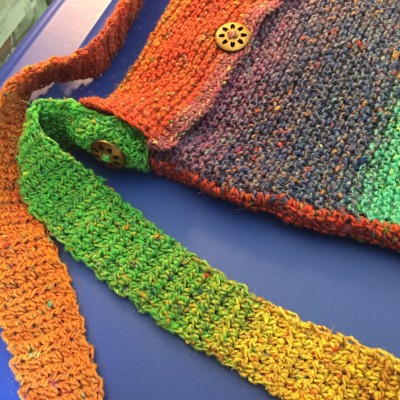
This is a very floppy and unstructured bag. I designed it to just hold a few small items like a comb, lip gloss, and a small wallet so that when I travel and want to head off for a quick dinner (on the ship during a cruise for example) I don’t have to bring my usual purse, which tends to be on the large size. If you want a sturdier bag, I suggest using cotton yarn instead of the silk/wool blend I used, or you could also line the bag and strap with cotton fabric.
